When we got a shell of a boat and started building her up from scratch, the priority was not really the aesthetics of it. Not just yet. The focus was more on getting running water, working toilets, lighting, etc. That is where we started. From there we built Necesse up to be the boat she is today. We moved from those first major projects that made our life on the boat easier, to finally the nicer projects, like new cushions, indoor and out, a bimini, and a dodger.
Since our budget was going to more “essential” projects, we learned to make due without the extras, like a water maker, or hot water heater, or a windlass. We had managed to live out our dream without these and thus never felt a need for them. Even when we got our new Mantus 65lbs anchor, Eben still thought he could be our human windlass; using his sexy strength to pull that anchor. He could do it, no problem. But as one of our readers kindly commented, “One day he may hurt himself raising it that way, then what?”. It is entirely true. So for the first time ever I found myself researching windlasses online.
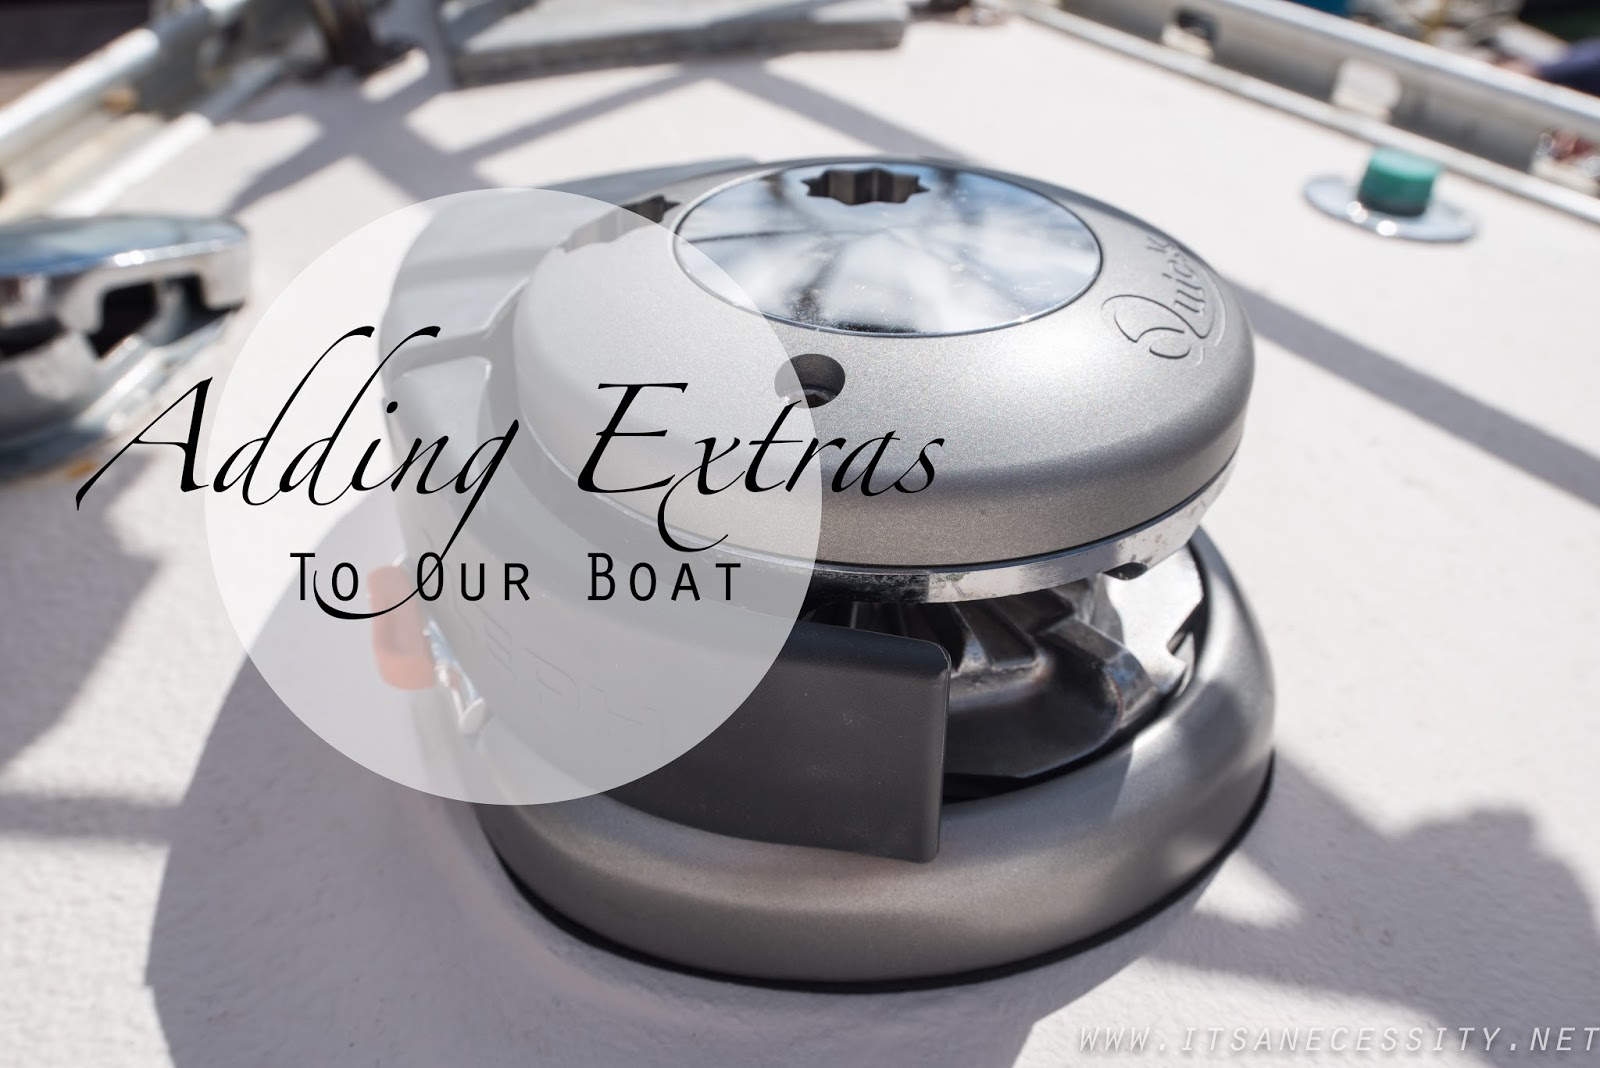
What it came down to is that we wanted something new, strong, and that if anything were to unfortunately break we could easily find replacement parts for. Since the Caribbean is our sailing stomping ground Quick was the smartest route for us. Eben carefully poured over the specs (with the help of a Quick tech) to make sure the dimensions fit our boat, and a few weeks later we were the proud new owners of the Quick Aleph 1500w.
(The only downside to getting a new windlass is that we were using an abnormal sized anchor chain that doesn’t fit in any windlass, and so now I find myself shopping for a new anchor chain…always more $ on a boat.)
Now to install this bad boy. It took a little more time than we expected but that is simply because we wanted to do it properly and have it look nice.
 |
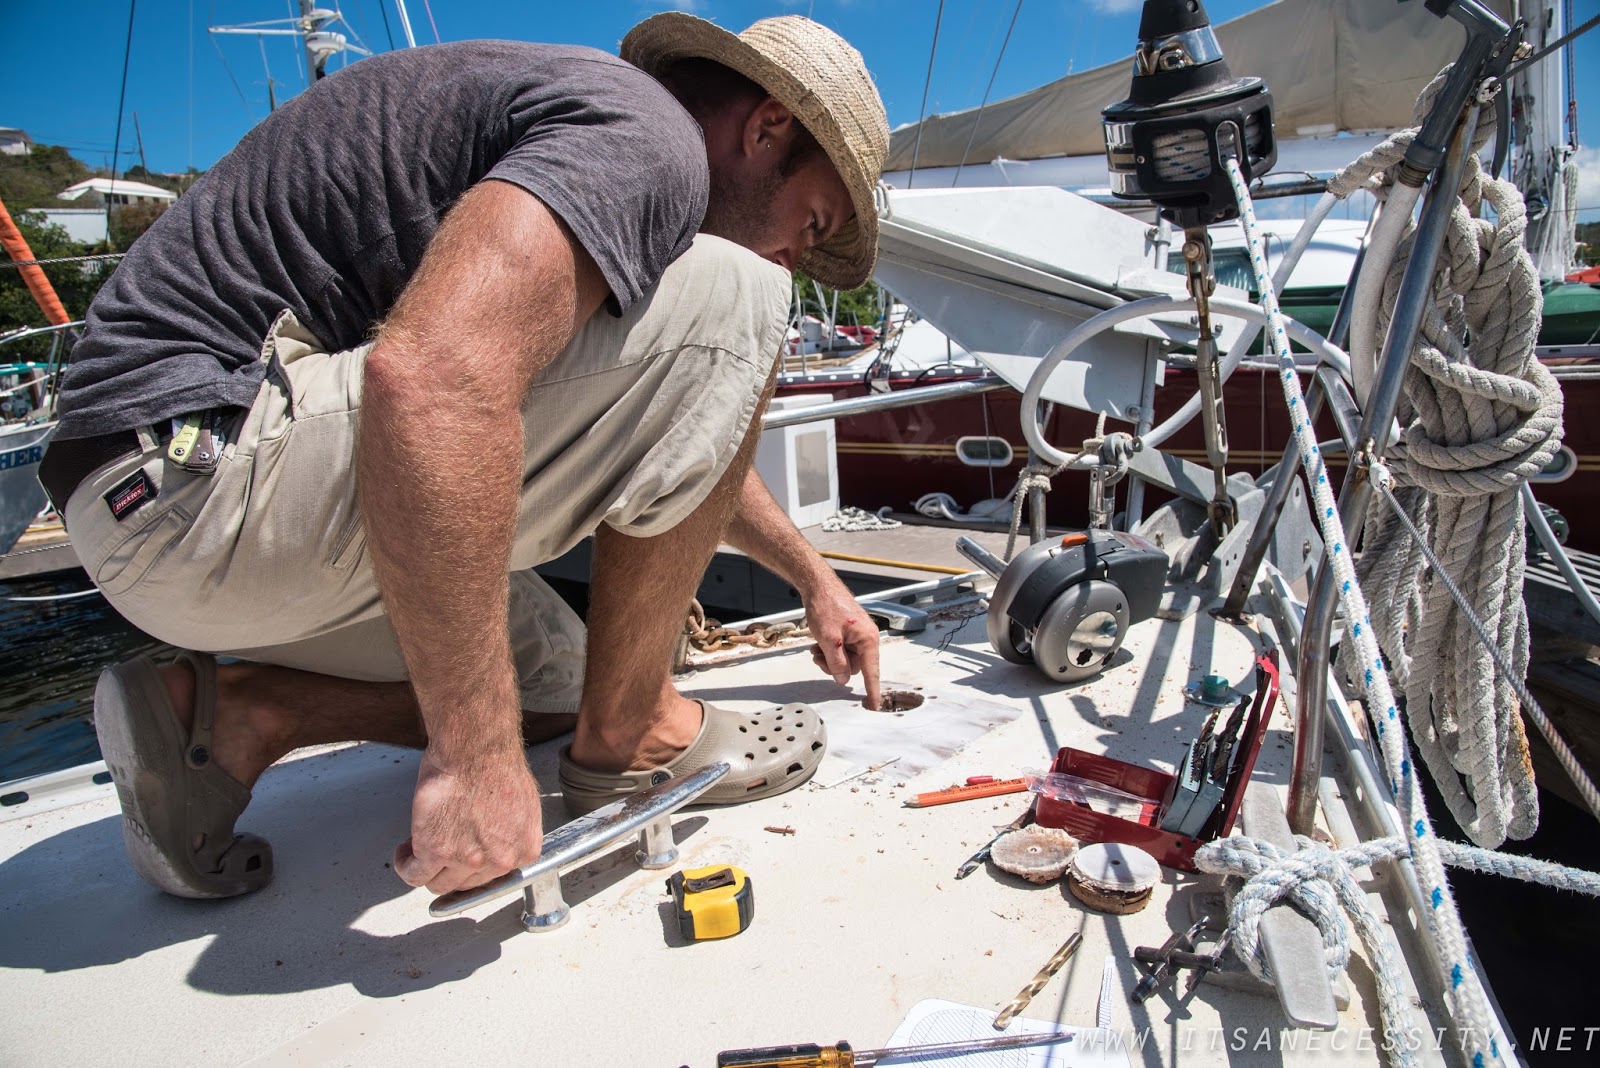
| our deck exploded with tools. He truly has one of everything. |
1) Eben had to remove the old hunk of metal that sat at the front of our boat, the manual windlass that never worked. This, of course, left several holes in the boat, which he then had to fill before cutting out new holes for the new windlass. He filled the holes with micro-balloons of high density filler, then added 4 layers of fibreglass over everything to build it back up because he had ground down a lot.
2) He measured to be sure that the new holes left enough space under the deck without hitting bulkheads and causing problems.
3) He made sure the chain roller and the gypsy lined up. You don’t centre the windlass, you want a straight line from the chain to the gypsy. Note most windlasses will not be perfectly centered on the boat for this reason.
4) He then used the template provided by Quick to drill the new holes into the deck. He did this with an adjustable hole saw and took a chunk out of his hand. Gloves are recommended. They are very dangerous but very useful when you don’t have larger sized hole-saw.
 |
| The template that came with the windlass. |
5) He tested the fit, only to realize the surface of our boat wasn’t level. So he built up the side that needed to be higher with more fibreglass.
6) He sanded down the 2 large holes. One was sanded to have a 45degree taper where the chain enters the boat as per Quick instructions. Once they were sanded and prepped he painted them with a thick layer of gel coat to make them water tight.
7) After he made another layer of gel coat which he turned to paste and lobbed it on the area and put a piece of stainless steel sheeting over it so the surface would be flat. Prior, he had put “mold release wax” on the surface of the sheeting so it wouldn’t stick when he removed it. This was to create a flat surface to redress the holes.
8) With aluminum, he made a backing plate with the same Quick template mentioned above. We just liked the idea of extra support.
9) He then took 2 days color matching and repainting the whole front section of the boat with gel coat to cover the work that was done.
 |
| Color matching is extremely hard. Soon our entire boat (deck and floors) will be covered with woven flooring but we decided that the front section of the boat, where the chain and windlass are, will not, just for cleanliness reasons. |
 |
| Taping and prepping to paint. |
10) Finally he put the windlass together and installed it. Do not use 5200 just the gasket provided so that it can be removable. He tightened the four bolts little by little to make sure the motor underneath ended up parallel with the piece up top, and if it’s not you need to use shims.
 |
| Isn’t it beautiful. |
The electrical wiring to the windlass will be a whole other project, but for now, our new windless is installed on the front of our boat and it looks pretty slick.


Wow, that looks really nice, both the windlass itself and the installation. Really nice craftsmanship… looks like it came installed from the builder. Now I have to add one more skill-to-be-acquired to my list… fiberglass (and all that goes with it).
Thanks for sharing!
Josh
Yes Eben is super detail oriented and will work on something until it is perfect. Eben says Fiberglass is great to know and it is super forgiving, if you mess it up you can just sand it down and start again!